[PR]
×
[PR]上記の広告は3ヶ月以上新規記事投稿のないブログに表示されています。新しい記事を書く事で広告が消えます。
プログラミング、3DCGとその他いろいろについて
[PR]上記の広告は3ヶ月以上新規記事投稿のないブログに表示されています。新しい記事を書く事で広告が消えます。
using Microsoft.Xna.Framework;
using Microsoft.Xna.Framework.Graphics;
using Microsoft.Xna.Framework.Content;
public class MyGame : Microsoft.Xna.Framework.Game
{
GraphicsDeviceManager graphics;
BasicEffect effect;
VertexPositionNormalTexture[] vertices = new VertexPositionNormalTexture[3];
ContentManager content;
Texture2D texture;
public MyGame()
{
graphics = new GraphicsDeviceManager(this);
content = new ContentManager(Services);
vertices[0].Position = new Vector3(0, 1, 0);
vertices[0].TextureCoordinate = new Vector2(0.5f, 0);
vertices[0].Normal = new Vector3(0, 0, 1);
vertices[1].Position = new Vector3(1, 0, 0);
vertices[1].TextureCoordinate = new Vector2(1, 1);
vertices[1].Normal = new Vector3(0, 0, 1);
vertices[2].Position = new Vector3(-1, 0, 0);
vertices[2].TextureCoordinate = new Vector2(0, 1);
vertices[2].Normal = new Vector3(0, 0, 1);
}
protected override void LoadGraphicsContent(bool loadAllContent)
{
if (loadAllContent)
{
effect = new BasicEffect(graphics.GraphicsDevice, null);
effect.Projection = Matrix.CreatePerspectiveFieldOfView(
MathHelper.ToRadians(45),
Window.ClientBounds.Width / (float)Window.ClientBounds.Height,
1,
100
);
effect.View = Matrix.CreateLookAt(
new Vector3(0, 0, 3),
new Vector3(0, 0, 0),
new Vector3(0, 1, 0)
);
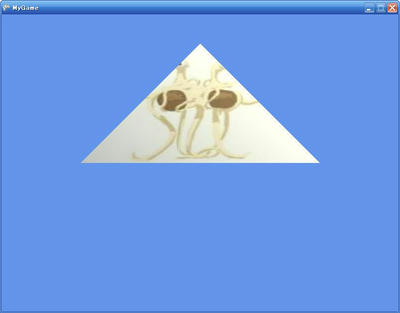
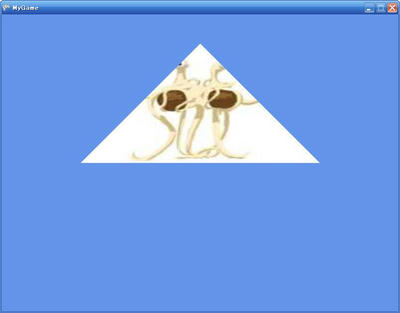
effect.TextureEnabled = true;
effect.EnableDefaultLighting();
texture = content.Load<Texture2D>("FlyingSpaghettiMonster");
}
}
protected override void UnloadGraphicsContent(bool unloadAllContent)
{
if (unloadAllContent) { content.Unload(); }
}
protected override void Draw(GameTime gameTime)
{
graphics.GraphicsDevice.Clear(Color.CornflowerBlue);
graphics.GraphicsDevice.VertexDeclaration = new VertexDeclaration(
graphics.GraphicsDevice,
VertexPositionNormalTexture.VertexElements
);
effect.Texture = texture;
effect.Begin();
foreach (EffectPass pass in effect.CurrentTechnique.Passes)
{
pass.Begin();
graphics.GraphicsDevice.DrawUserPrimitives<VertexPositionNormalTexture>(
PrimitiveType.TriangleList,
vertices,
0,
1
);
pass.End();
}
effect.End();
}
}
 [0回]
[0回]